Bergere Hat making
May 29, 2020Hello lovelies,
I am here with another hat, but to be honest, this project was much more straightforward and better than the last one. It was just a big band of straw, going round and round and this was so much easier to sew.
Even though my fingers would completely disagree as the straw was stiffer than normal fabric and after three days of sewing, I had to rest my hand for day. My wrist and fingers were stiff in the morning and I didn't want another tendonitis. The next day my hand was fine again and I continued working on the hat for two more days and I was done. It only took 5 days for a completely new hat, that opens a whole new hat world. How long would I need for a smaller hat, four days? Oh yes, sign me up for a lot more straw hats.
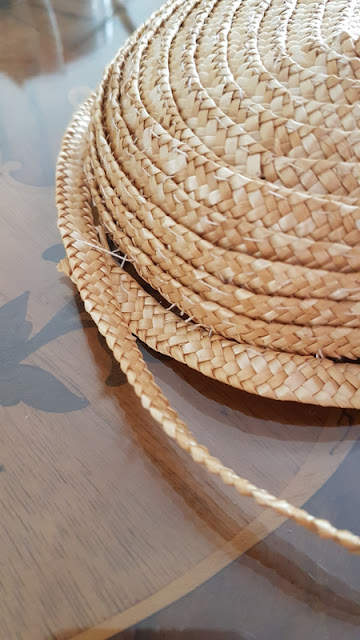
The only thing I didn't know was that I kind of made the hat the "wrong way" around. The straw is usually sewn underneath the other row, I sewed it on top. I am not sure why this is, but someone on Instagramed mentioned, that it may be easier for water to drip off that way when it was raining.
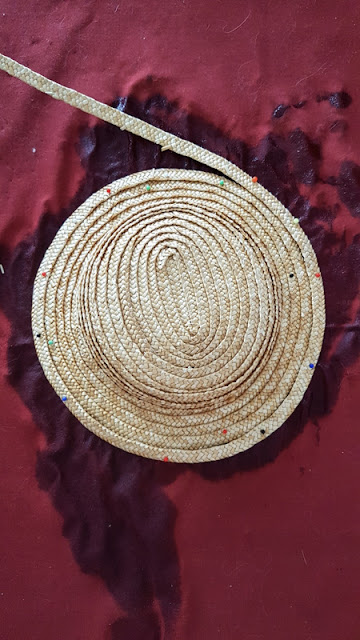
This is how I started out, while working with straw I had to always keep a small bowl of water next to me so I could drench the straw into the water. Without water, it would be brittle and wouldn't bend or move without breaking.
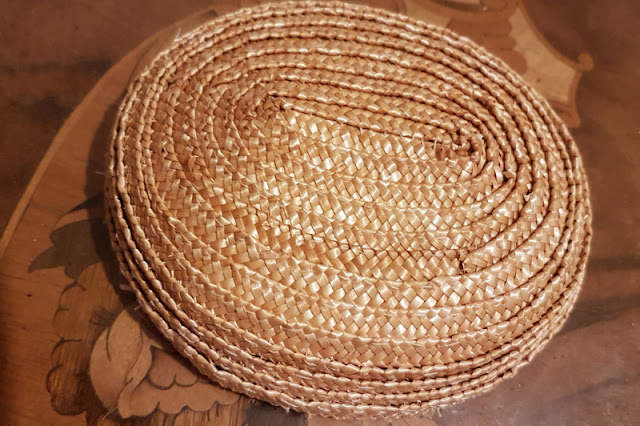
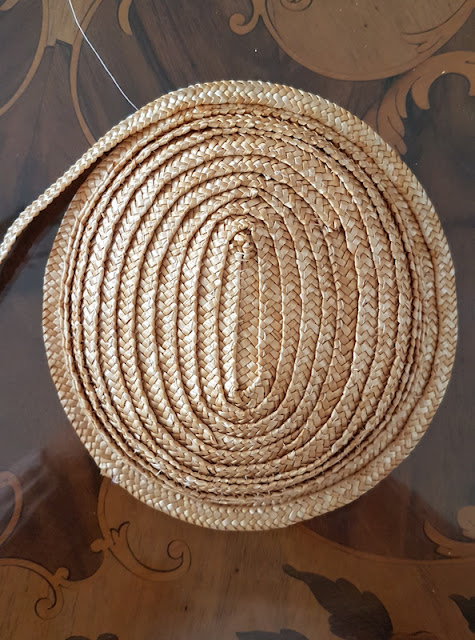
I went round and round with the straw and the needle, it was then that I realized that it was not round but oval. Oops. While going around I tried to make it rounder and it somehow worked.
As the crown of a begere is not high, this was enough.
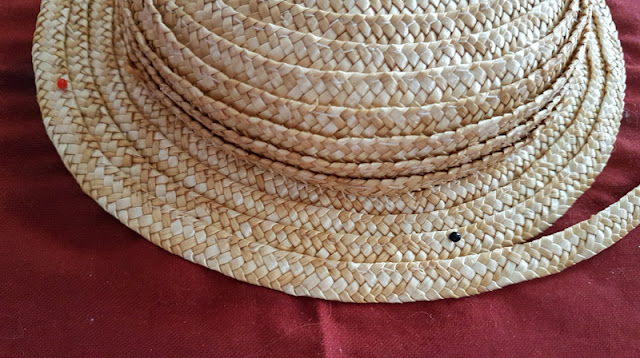
But how to attach the brim? In the end I cut the straw and started another row. I have no idea if this was the right way as I couldn't find a lot of information on how to hand sew a straw hat on the internet.
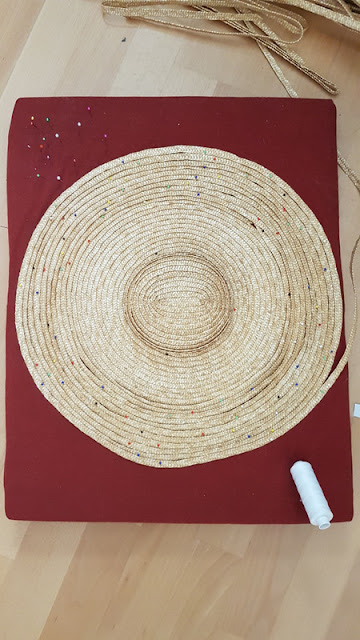
At first I dipped the straw in water and then pinned it to the brim, let it try and continue sewing but I soon found out, it was so much easier if I sprayed it in water and pinned it in place.
This is actually my bobbin lace matt, but it worked perfectly for pinning the straw and letting it dry overnight so gets the round shape.
The brim 13cm wide and I was unsure if I should make it larger or stop. I asked a few friends and they told me, it was fine like that, so I added one or to more lines and then cut the straw.
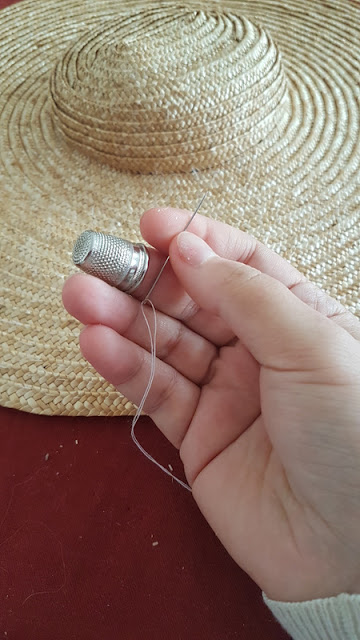
A thimble is your best friend when you sew straw.
And here are pictures from the straw hat.
I think it looks super cute and I love how this turned out.
Maybe I will do a straw bonnet next,
All the best,
Auris Lothol











1 Kommentare
That hat is what dreams are made of, I love it!
ReplyDelete