The making of a reticule
April 17, 2020
Hello lovelies,
after my trip to Italy the Corona situation in Austria became worse and 10 days after we came back, I was ordered to stay in quarantine for two weeks. That quarantine finally ended, but I am not sure how work will continue hereafter. At least I did use my time wisely and crafted a few items.
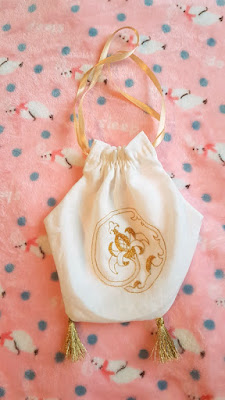
The first thing i finished was a regency inspired reticule. A reticule is a small satchel/bag which was often embroidered and decorated in every imaginable way.
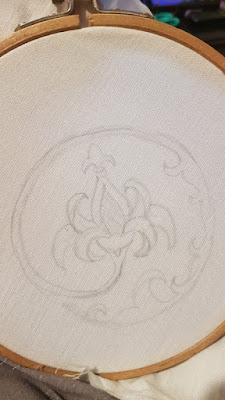
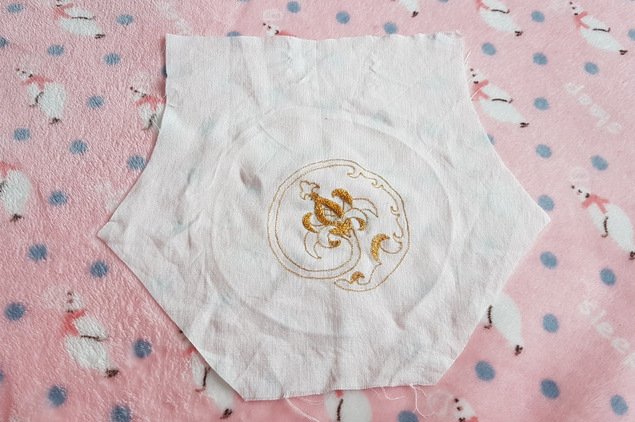
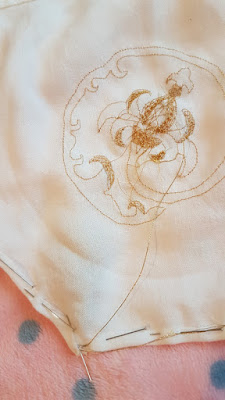
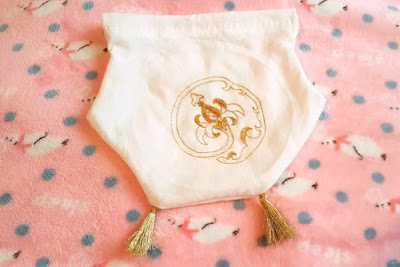
It all started out with having the strong urge to embroider a pomegranate in gold, because I was still so inspired by Italian renaissance fabric and I bought so many books on Renaissance fabric and fashion. I searched for a good pattern and found this lovely pomegranate from Needle'n thread. I copied it with pencil on my fabric.
My lines are a bit wobbly but I think that's just because I followed the pencil drawing too closely (which was wobbly).
Afterwards I was unsure on how to continue because I had cut the fabric into a small piece to better embroidery it. And now it was too small for almost everything.
My friend recommended doing a tissue but sadly, the embroidery is not washable.
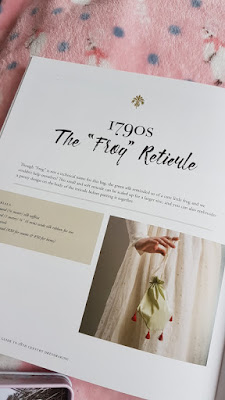
Then I browsed through the 18th century sewing book by American Duchess and decided to do a regency reticule. And the fabric was just enough for it. Hooray.
I made the pattern a tad smaller and it fit perfectly. The pomegranade was not in the middle but it was too late to change that without making the bag even smaller.
I followed the pattern quite closely and there were a few points I didn't quite get (but sewing lingua is not something my brain understands in any language).
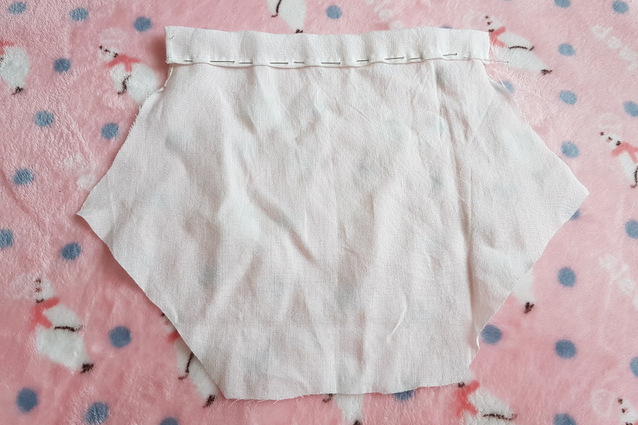
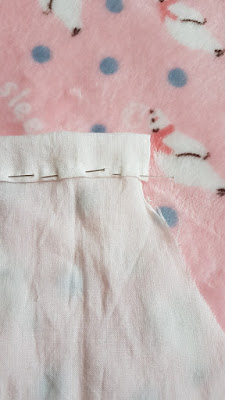
At first, I closed the sides, I think these were 5 or 7cm down from the top, on both front and back. Afterwards I hemmed the top with small running stitches.
Once again the hem was folded inwards and I closed the seam with a slip stitch.
A running stitch was added on top of that to create the tunnel for the ribbon.
My mistake was to cut the front part for the Mantua Maker seam. It would have been better to trim the back part.
The larger seam from the back was folder over the smaller one to sandwich the front seam.
I left the top part open, not sure if that was correct though but I saw no other way. It would have been too bulky.
Before going over the seam with a running stitch I made gold tassels to fit the gold embroidery. I used DMC Diamant, colour D3821.
Tassels are super easy to make, it really is just wrapping all the thread a cardboard and then around the middle and then the top. Cut the ends and it is done.
I made loops from the two strands of thread sticking out of its head, and pushed it between the fabric.
See the thread sticking out of the fabric? That's the tassel inside of the bag (which will be outside once turned inside out). Again I went over with a running stitch and then folded it again.
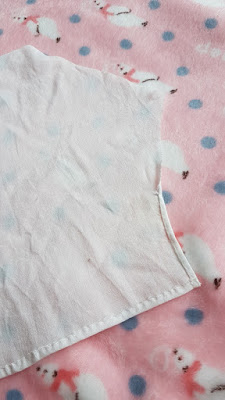
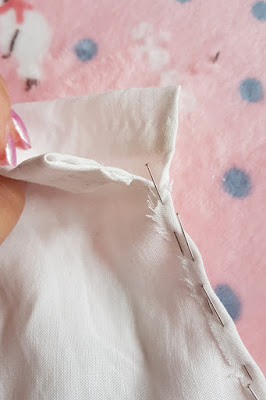
Now here is where I was completely lost. After folding it, I had to go over it with a slip stitch. I tried to go through all the layers but when I was done and turned everything inside out, the corners were very bulky.
It is more visible here: the corners are not as nice as in the pictures provided. But no idea what to do about it except for ironing it down hard.
The last step was inserting a ribbon, I opted to not go for cord because I only had silver, blue and rosé, which didn't match at all. I couldn't find a nice satin ribbon and had to settle for polyester. At least I can change the ribbon as soon as the shops are open again.
My first reticule is done. I learned a lot about the making of these bags and the next one will definitely be more fancy. Most of the times, I treat my first projects as mock ups and this project is no difference.
All the best,
Auris Lothol











0 Kommentare